Introduction
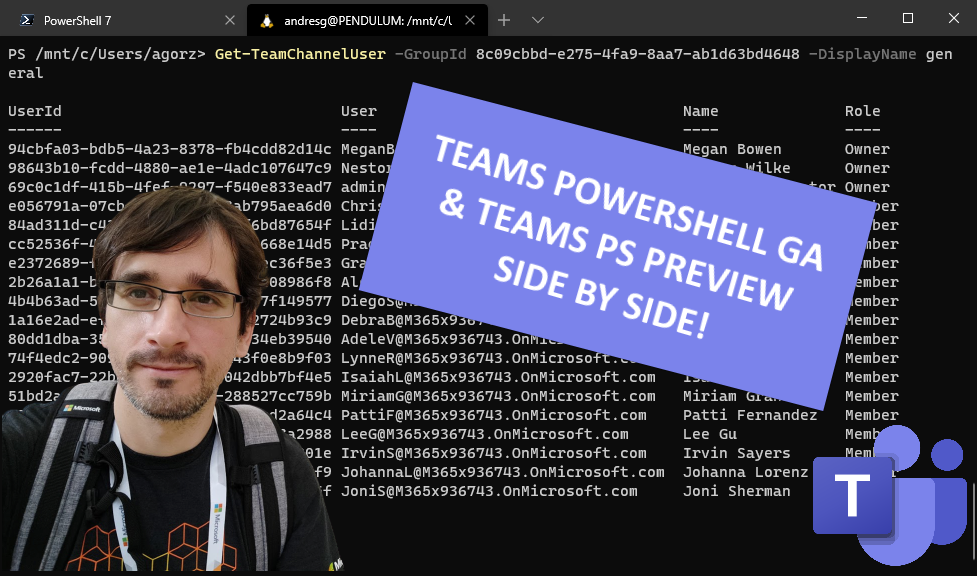
This is somewhat related to my last post, titled Teams PowerShell module is now compatible with PowerShell Core!
As a Docs contributor I have to constantly test a lot of PowerShell modules, specially, the Teams PowerShell module, and, as the line between the General Availability version and the Preview version of the module is a little blurry, users ask questions all the time, which feature, cmdlet or parameter is in which module version.
I've been running an Azure VM installed with the Preview version of the PowerShell module, however it takes some time to start it, RDP into it and finally use the module, so I thought how awesome could be to run both versions of this PowerShell module on the same computer, as you can not do that natively in the same Operating System installation, I decided to take advantage of WSL (Windows Subsystem for Linux) to accomplish that.
Credits
I used several blog and Docs articles to get this working so this is mainly a post to summarize them all, I must give the credit to:
Official Docs article located here Windows Subsystem for Linux Installation Guide for Windows 10
Saggie Haim Blog article Install PowerShell 7 On WSL and Ubuntu
Sebastiaan Dammann Blog article How-to: Installing WSL manually on a non-system drive
Special thanks to Hayden Barnes for the Ubuntu 20.04 image link!
Install WSL
Enable-WindowsOptionalFeature -Online -FeatureName Microsoft-Windows-Subsystem-Linux
dism.exe /online /enable-feature /featurename:VirtualMachinePlatform /all /norestart
Restart and set WSL2 as default WSL version
wsl --set-default-version 2
if you receive an error in this step WSL 2 requires an update to its kernel component. For information please visit https://aka.ms/wsl2kernel follow the steps outlined in that URL before continuing.
Install Linux Distribution for WSL
I didn't want the Linux installation to be on the System Drive so I created a folder on D: drive and CD into it for the next steps and also I chose Ubuntu 20.04-LTS as the Linux distro however you can choose whatever distro you like that is supported by PowerShell Core.
Invoke-WebRequest -Uri https://aka.ms/wslubuntu2004 -OutFile D:\wsl\Ubuntu.appx -UseBasicParsing
This step will take some time to download the Linux distro, once it finishes, let's rename the downloaded image
cd D:\wsl\
Rename-Item .\Ubuntu.appx Ubuntu.zip
Expand-Archive .\Ubuntu.zip -Verbose
now let's install Ubuntu calling the setup binary
.\ubuntu2004.exe
It will ask you for a UNIX username, a password for it and if everything goes well you should see something like this as the setup will directly get you into the Linux virtual machine
Welcome to Ubuntu 20.04 LTS (GNU/Linux 4.19.104-microsoft-standard x86_64)

 * Documentation:  https://help.ubuntu.com
 * Management:     https://landscape.canonical.com
 * Support:        https://ubuntu.com/advantage

  System information as of Wed Aug 12 19:17:05 -03 2020

  System load:  1.67               Processes:             8
  Usage of /:   0.4% of 250.98GB   Users logged in:       0
  Memory usage: 1%                 IPv4 address for eth0: 172.26.225.227
  Swap usage:   0%

0 updates can be installed immediately.
0 of these updates are security updates.

yourUser@yourHostname: $
Do not exit Ubuntu and run the next section inside of it.
PowerShell Core installation
Create a directory for PowerShell install and change to it
yourUser@yourHostname: $ sudo mkdir /usr/share/PowerShell
yourUser@yourHostname: $ cd /usr/share/PowerShell
Let's download the current stable release available (check https://github.com/PowerShell/PowerShell/releases/ for updated versions)
yourUser@yourHostname: $ sudo wget https://github.com/PowerShell/PowerShell/releases/download/v7.0.3/powershell-7.0.3-linux-x64.tar.gz
Expand this archive
yourUser@yourHostname: $ sudo tar xzvf powershell-7.0.3-linux-x64.tar.gz
Add the PowerShell directory to the PATH environment variable
yourUser@yourHostname: $ cd #HOME
yourUser@yourHostname: $ nano .profile
add to the end
PATH="$PATH:/usr/share/PowerShell"
save it and exit nano (at least it is not VIm!)
exit Ubuntu
yourUser@yourHostname: $ exit
Microsoft Teams Preview module installation
If you are like me and use Windows Terminal, it will automatically recognize the installation and add it to the available Shell options, in case you do not, fire up the Ubuntu 20-04 LTS WSL running
.\ubuntu2004.exe
now run
yourUser@yourHostname: $ pwsh
that should get you to PowerShell 7.0.3 on Linux, you should see
PowerShell 7.0.3
Copyright (c) Microsoft Corporation. All rights reserved.

https://aka.ms/powershell
Type 'help' to get help.
now, let's install the currently most updated version of the Preview module (1.1.-3 preview at the time of writing this blog post but you can check https://www.powershellgallery.com/packages/MicrosoftTeams/ for updates, remember, they have the -preview tag in the name)
PS /mnt/c/Users/agorz> Install-Module MicrosoftTeams -AllowPrerelease -RequiredVersion 1.1.3-preview
Accept the installation from an untrusted repository and if everything goes well, you should be able to use Teams PowerShell Preview as explained here.
comments powered by Disqus